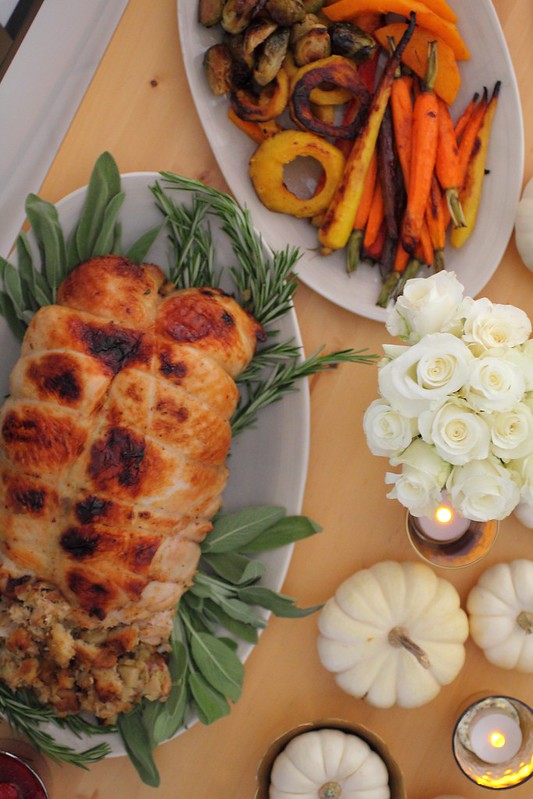
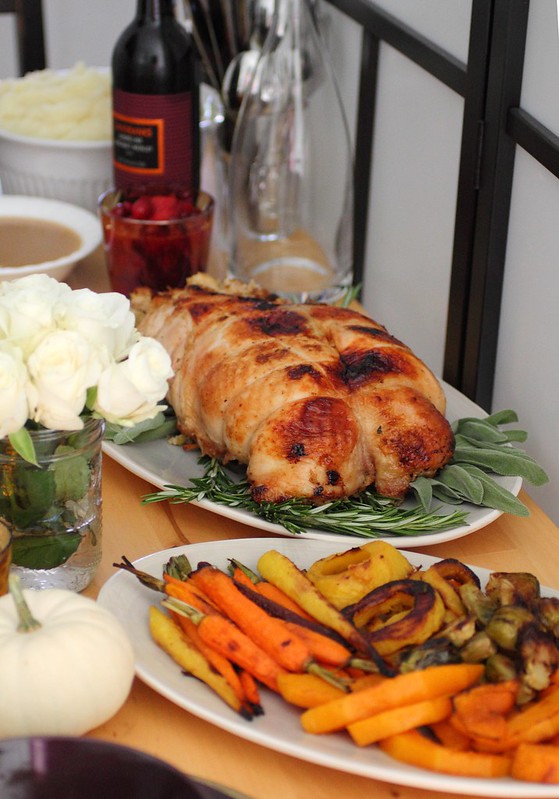
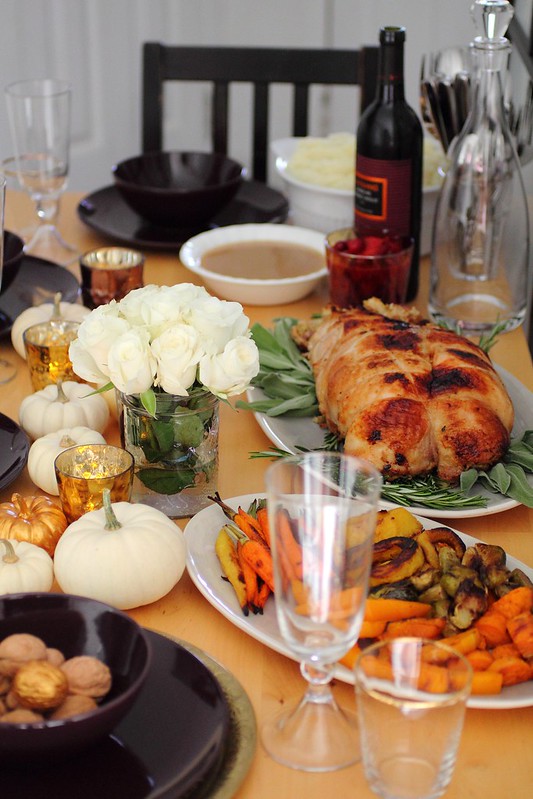
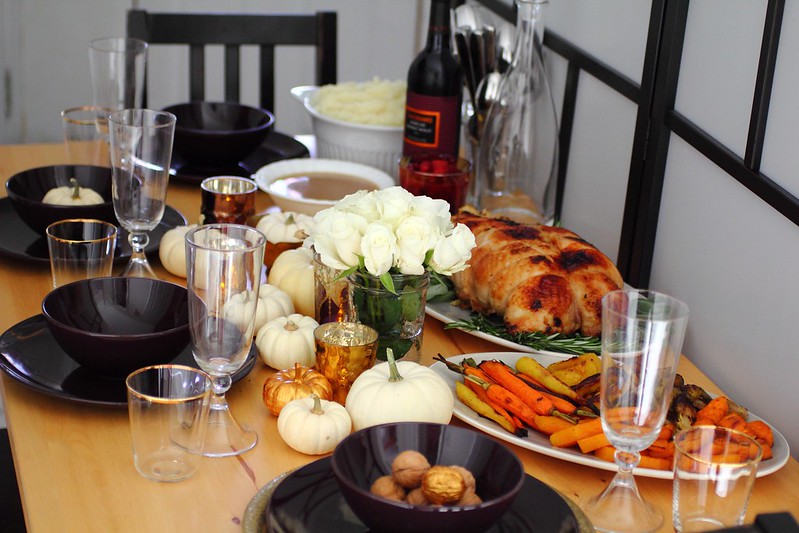
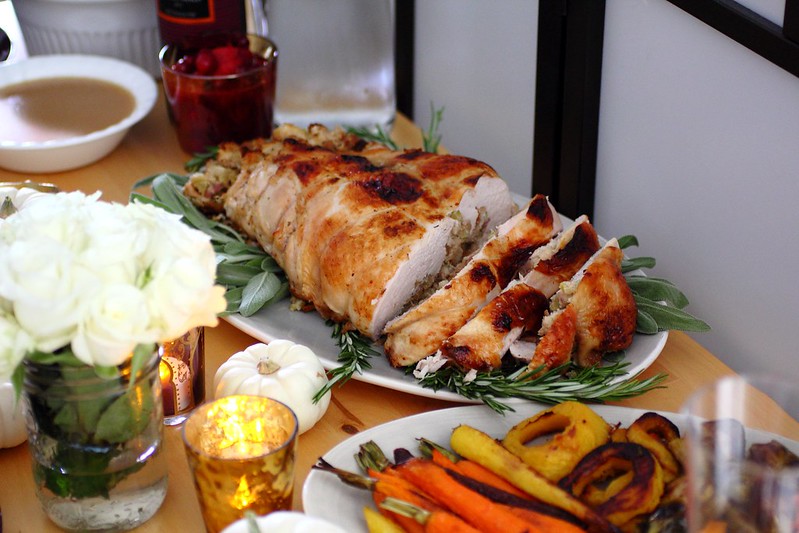
On this Canadian Thanksgiving I tried to make life a little easier - with pregnancy and all that's going on and do a stuffed whole turkey breast inspired by Nigela's recipe! I began by brining my organic deboned whole turkey breast... yes that was an interesting learning experience!
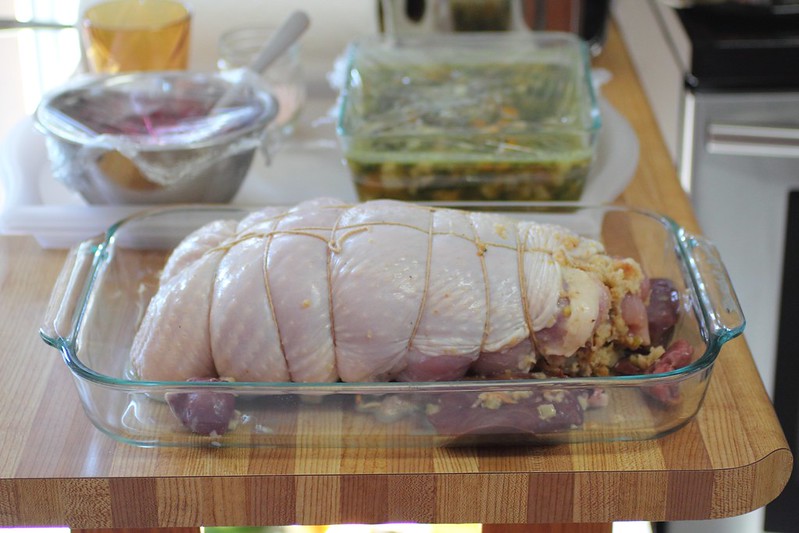
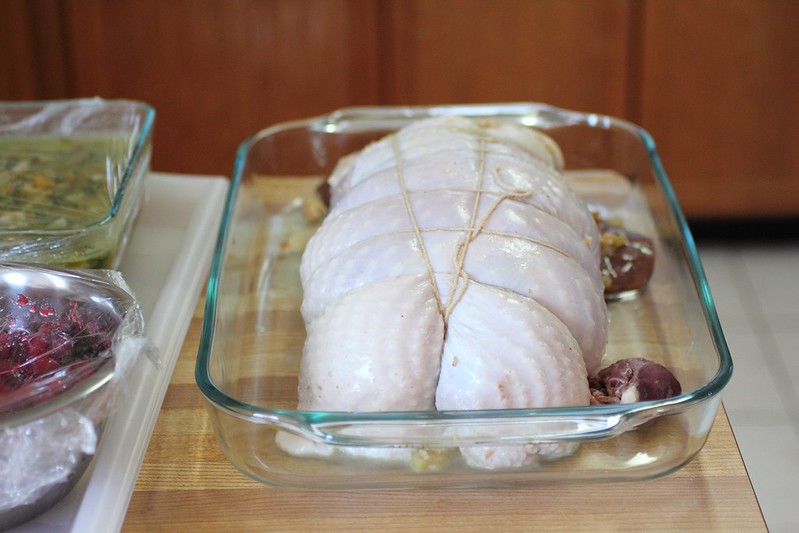
Every year I do a brined turkey, I believe there's no other way to go and not having too much room in my fridge it was easy to just brine the turkey breast opposed to an entire turkey so after 24 hours and on the day of I removed the turkey 2 hours prior to baking to and strained it from the brine. Once the meat is closer to room temperature and nice and dried from it's brine my husband helped me dump a nice heep full of premade homemade apple sage stuffing on top of it (set the whole breast skin side down) then I began rolling it from both sides, or more like bringing it together like closing a book. We struggled with the string abit but got the hang of it and tired it all up.
The stuffed breast gets slathered in butter and sprinkled with salt and then goes into a 450 F preheated over for 30 minutes at which point the temperature gets lowered to 400 for the rest of the baking. It baked for about 2 hours and I kept basting it with a mixture of maple syrup, cider and apple cider vinegar as well as adding stock to the bottom of the pan so things didn't burn (remember lots of sugar in the glaze that could burn real quickly and leave you with a black pan and burnt flavour turkey!)
It's important to make sure the breast is cooked all the way through so definitely look up the guidelines for internal temperature online and use a thermometer to test it.
Towards the end don't hesitate to remove the string and either convection roast or broil the top, keeping a close eye and turning the pan to get an even brown. Of course throughout the cooking you may even have to put pieces of foil on top of parts of the meat if certain areas of the skin brown faster.
For the start of the meal I did a vegetable soup with small cubes of butternut squash, celery root, celery, leek and onion in a broth then added baby kale. Toasted orzo gets added in on the day of just before serving and a sprig of thyme as well as fresh lemon zest and a splash of lemon juice.
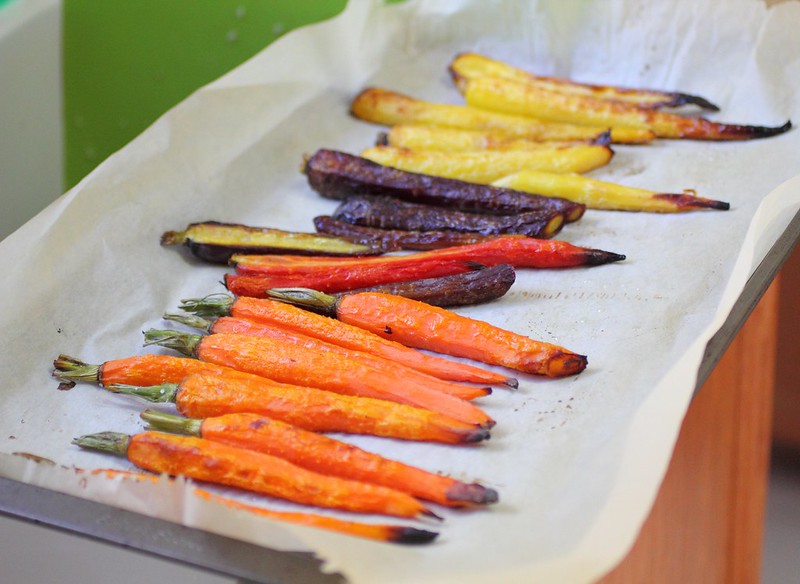
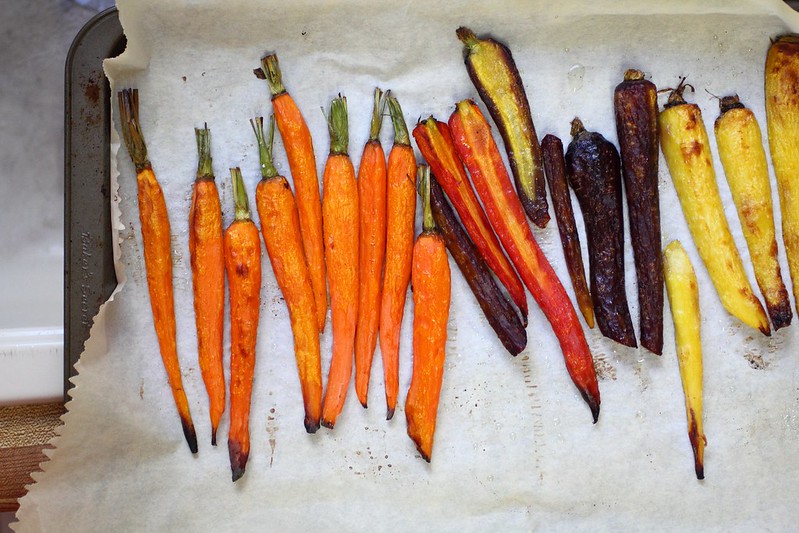
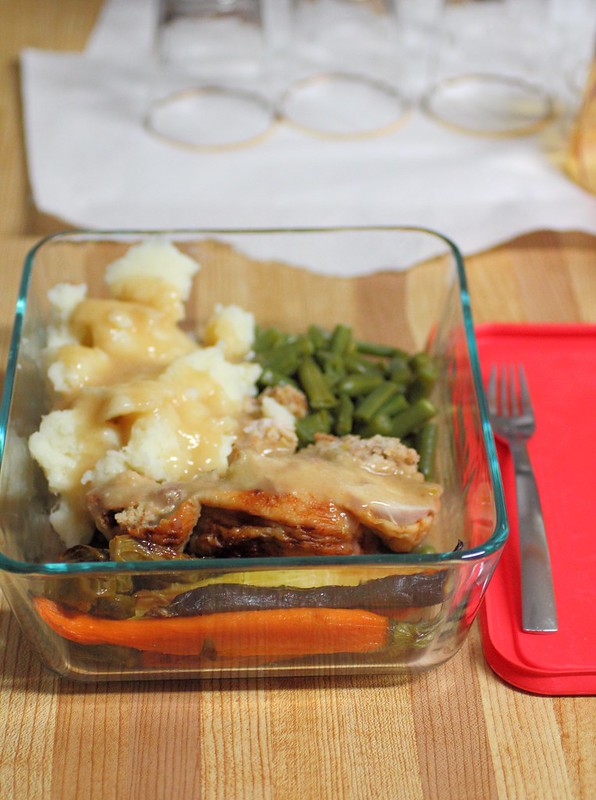
Of course there was fluffy mashed potatoes, gravy and a variety of roasted vegetables like brussel sprouts, carrots, sweet potatoes and squashes like delicata and butternut (what was leftover from the soup)
And last but not least the traditional orange cranberry sauce that we've enjoyed over the last couple of years, I love it more and more every year! Recipe here
Scroll down below for Dessert

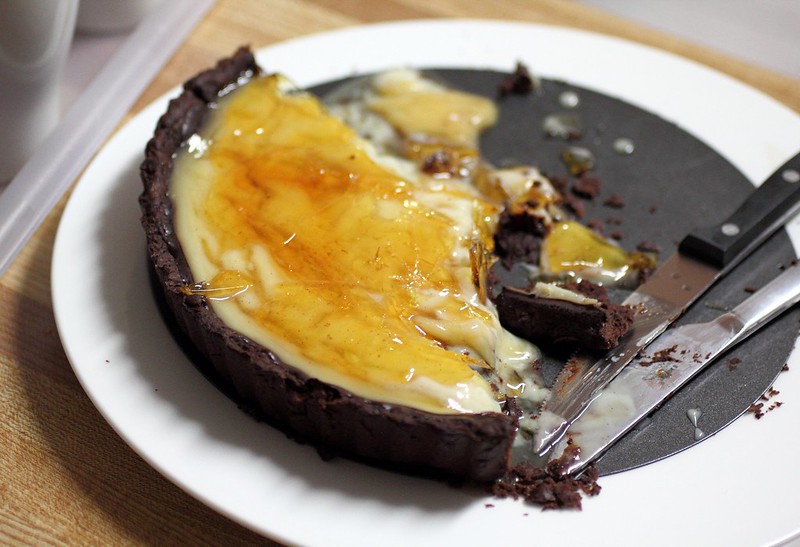
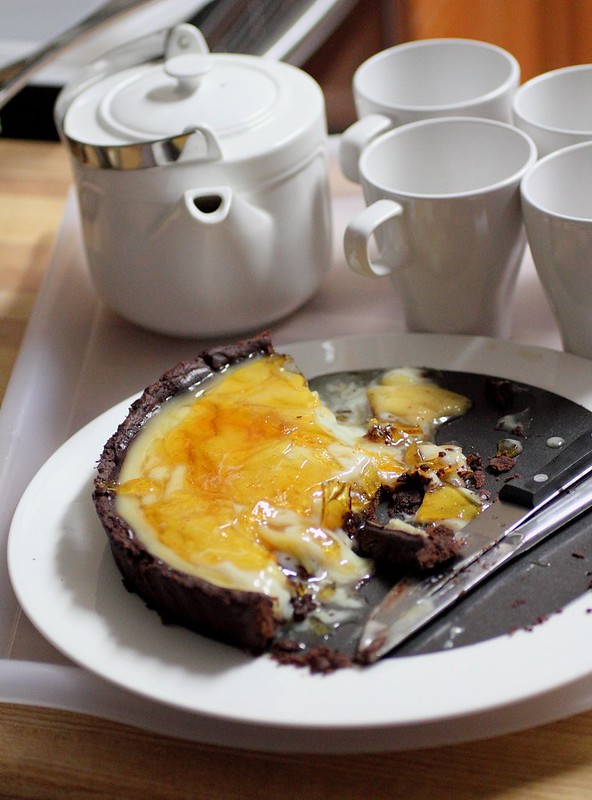
Dessert was a jumble of 3 different recipes! I started off wanting to do a creme brulee tart with a chocolate crust but then thinking about how rich the buttery meal can get it would be nicer to have a lighter dessert and something that is premade, just waiting in the fridge to serve after a long weekend of cooking.
We couldn't find our torch either, and remembered we'd left it at my family's house! Even after picking up another one from home depot for good measure I went with a recipe that didn't need it. After looking through Jamie Oliver's Comfort Food I happened upon the recipe for milk tart that was lighter and with a bonus of not requiring the torch, just what I was looking for and so this recipe was born!
I'm not quite sure if it's a necessary step to brush the premade prebaked chocolate tart crust with the chocolate or to go ahead and omit this step, I'll have to experiment next time.
Start by making the crust recipe below.....
Chocolate Tart Pastry Ingredients
50 g cocoa powder
175 g plain flour
2 tbsp icing sugar
115 g butter , chilled and diced
1 egg yolk
Optional step:
100 g dark chocolate (no more than 62% cocoa solids) , melted
Sift the cocoa powder, flour, icing sugar and a pinch of salt into a food processor. Add the butter and process until it resembles fine crumbs. In a bowl, mix the egg yolk with 60ml of water and gradually pulse it into the flour mixture until you have a rough dough.
Place the dough on a clean surface and knead it for 30 seconds or until smooth, then flatten it into a disc. Wrap it in cling film and chill in the fridge for 30 minutes. After that, roll out the dough and use it to line a 23cm pie tin. Trim the excess pastry so you’re left with 2.5cm overhang. Tuck this under, ensuring it’s level with the rim to give a raised edge, and crimp with your fingers and thumb. Prick the base with a fork and pop it in the fridge for 30 minutes.
Heat the oven to 200°C/400°F/gas 6. Line the pie crust with baking paper and dried baking beans, then bake
for 20 minutes. Remove the paper and beans and return it to the oven for 5 more minutes. Allow the pie crust to cool.
Optional step:
Pour in the melted chocolate and allow it to set.
(you can refrigerate it at this point until the next day)
(you can refrigerate it at this point until the next day)
Milk Tart filling
2 1/2 cups milk (2%)
1/2 vanilla bean
1 pat unsalted butter
2 large eggs
2 tbsp cornstarch
1 1/2 tbsp all purpose flour
1/3 cups sugar
Simmer the milk with the vanilla bean for 15 mins, remove from heat and stir in butter to melt. Beat the eggs with cornstarch in a clean bowl, add the flour and sugar then add a bit of the milk to the egg mixture once it's cooled down a little. Whisk the egg mixture to incorporate and add it back into the saucepan of milk. Over the stove on low heat whisk for 5-10 minutes until custard thickens. Remove the vanilla bean and pour the custard into the pastry shell. Bake for 20 minutes on 350 then cool completely.
Before serving ....
optional: Caramel crust
3/4 cups sugar
a splash of water
Before serving melt the sugar in a non stick saucepan over medium heat with a splash of water until sugar turns lightly golden, do not stir, then pour over the tart and cool fully at room temp, tap and crack the caramel to serve.
---------------------
For Creme Brulee filling instead (richer)
For custard filling:
1/2 vanilla bean
1 1/4 cups heavy cream
2/3 cup whole milk
4 large egg yolks
1 whole large egg
1/2 cup sugar, divided
1/8 teaspoon salt
Equipment:
a 9 1/2-inch round fluted tart pan (1 inch deep) with a removable bottom
pie weights or dried beans
a small blowtorch
Make filling:
While shell bakes, split vanilla bean lengthwise and scrape seeds into a heavy medium saucepan with tip of a paring knife. Add pod to saucepan with cream and milk. Heat over medium heat until hot, then let steep off heat 30 minutes.
Whisk together yolks, whole egg, 6 tablespoons sugar, and salt in a quart measuring cup, then whisk into cream mixture until smooth. Strain through a fine-mesh sieve back into measuring cup.
Put tart shell (in pan) in a 4-sided sheet pan. Put in oven, then pour custard into shell. Bake until just set but still slightly wobbly in center, 30 to 35 minutes (custard will continue to set as it cools). Remove tart from sheet pan and cool on a rack 30 minutes. Remove side of pan and cool to room temperature, about 1 hour more.
Just before serving, sprinkle remaining 2 tablespoons sugar evenly over top of tart. Move blowtorch flame evenly back and forth just above top of tart, avoiding crust, until sugar is caramelized and slightly browned. Let stand 5 minutes before serving.
cooks? notes:
•Tart, without caramelized top, can be made 1 day ahead, then chilled (loosely covered once cool). Gently blot any moisture from surface before caramelizing.



No comments:
Post a Comment