If you asked me what my favourite thing to cook is the answer would probably be chicken, not exactly sure why because I used to be a vegetarian most of my life but I think it's the fact that I find it a challenging ingredient (dry, I'm a fan of the leg anyway) and pride myself at cooking it to ensure it's juiciness.
My go to ingredient when it comes to chicken is always LEMON, the acidity really works it's tenderizing magic on any part of the chicken, and I also like to do indian recipes with a yogurt marinade to achieve similarly tender results.
My go to ingredient when it comes to chicken is always LEMON, the acidity really works it's tenderizing magic on any part of the chicken, and I also like to do indian recipes with a yogurt marinade to achieve similarly tender results.
Today I'm going to talk about brining my first chicken, don't know what took so long to do this since I cook chicken all the time and have used this method for our organic-free range turkey last October, you can see it here
The whole process is very simple, I took the thawed or fresh chicken and put it in a big stainless steel pot/bowl, add cold water over top and dump in:
- Handfuls of sea salt
- A tbsp of raw sugar (just had it on the counter)
-1 whole head of garlic (sliced horizontally to keep it in tact)
-1 large onion with skin and all sliced in two halves keeping the root in tact,
- a handful of black peppercorns
- some lemon juice (or vinegar..) not sure if this is a traditional brine ingredient but I like my acidity.
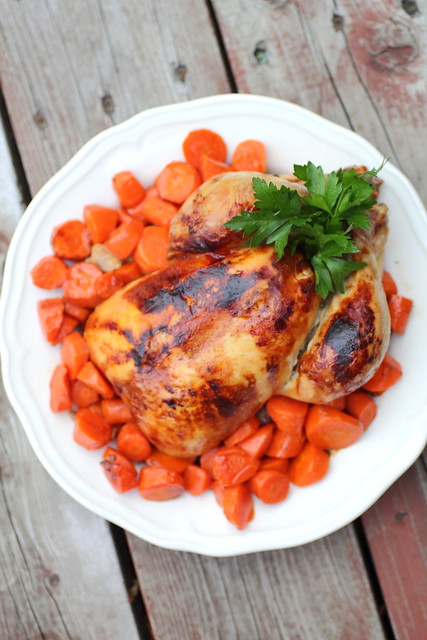
I left it in the fridge for 8 hours or so, then removed the chicken gently (it's wet and you don't want to get chicken water all over the place) gently laying it in a baking casserole or pan. Allow it to come to room temperature and drizzle the top with some olive oil (I had no butter at home! but if you do use it!) and Worcestershire sauce then preheat the oven to 450, bake for 30 minutes and reduce the temperature to 425 and continue cooking, if the skin gets too dark too quick reduce to 400 and cook until the juices run clear when you pull the leg away from the body or use a meat thermometer to ensure safe internal temperatures.
I just set mine on a bed of carrots and threw in a bit of chicken stock in the bottom of the pan, at some point I propped up the chicken a bit and added a tiny drop of hot boiled water to the bottom so pan juices don't burn.
I just set mine on a bed of carrots and threw in a bit of chicken stock in the bottom of the pan, at some point I propped up the chicken a bit and added a tiny drop of hot boiled water to the bottom so pan juices don't burn.
Now for the side dish, a vegetable I don't think I've ever purchased before but thanks to Stefano Faita (it's a CBC cooking show here in Canada) convincing me that it is going to taste just like mashed potatoes so I thought I'd give it a go! Why not?
It's a bit of a weird root and the first time I decided to try the recipe I bought the wrong vegetable, haha. I grabbed a wax coated Rhutabaga which took quite a bit to cook. It was actually still good!
It's a bit of a weird root and the first time I decided to try the recipe I bought the wrong vegetable, haha. I grabbed a wax coated Rhutabaga which took quite a bit to cook. It was actually still good!
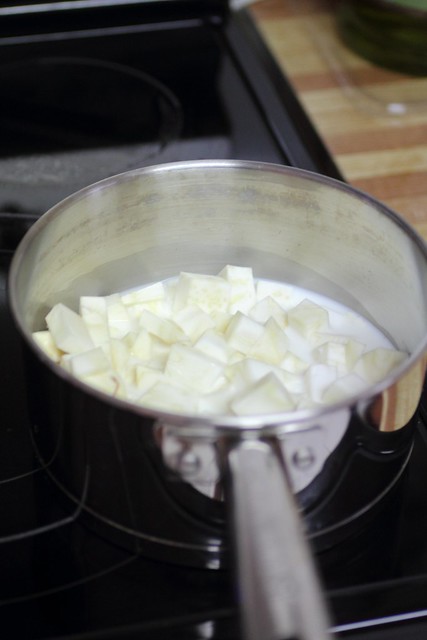
The celery root on the other hand smells just like a delicate celery and so I peeled it and removed the rooted parts in the bottom, chopped in in small dices and then set it in a pan with some milk (or try half and half?) and let it simmer away, keeping an eye on it because milk overflows. Seasoned it delicately with salt and a dash of pepper because I wanted to really see how this veg tastes.
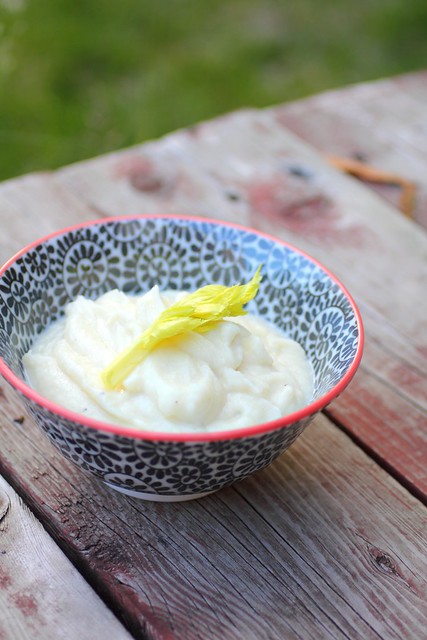
Once it's tender I pureed it.
I'm telling you it's delicious! I was scooping it out of the blender as not to waste any because it was that good!!!!
I love trying new things and so glad I did, I'm sure it has to be healthier than eating mashed potatoes, I ate the whole batch myself and it didn't make me feel full and weighed down the way a starch would.
I love trying new things and so glad I did, I'm sure it has to be healthier than eating mashed potatoes, I ate the whole batch myself and it didn't make me feel full and weighed down the way a starch would.
Give it a try, I think kids would like it too.
Here's Stefano's recipe. I cooked mine in the milk and added no butter. It was so good that I would keep making it.
I can see myself experimenting with this ingredient again and again, maybe adding some cheese, the combination of cheese and celery is one that I enjoy very much so it could work.
Hope you enjoyed these recipes :)
I can see myself experimenting with this ingredient again and again, maybe adding some cheese, the combination of cheese and celery is one that I enjoy very much so it could work.
Hope you enjoyed these recipes :)


No comments:
Post a Comment